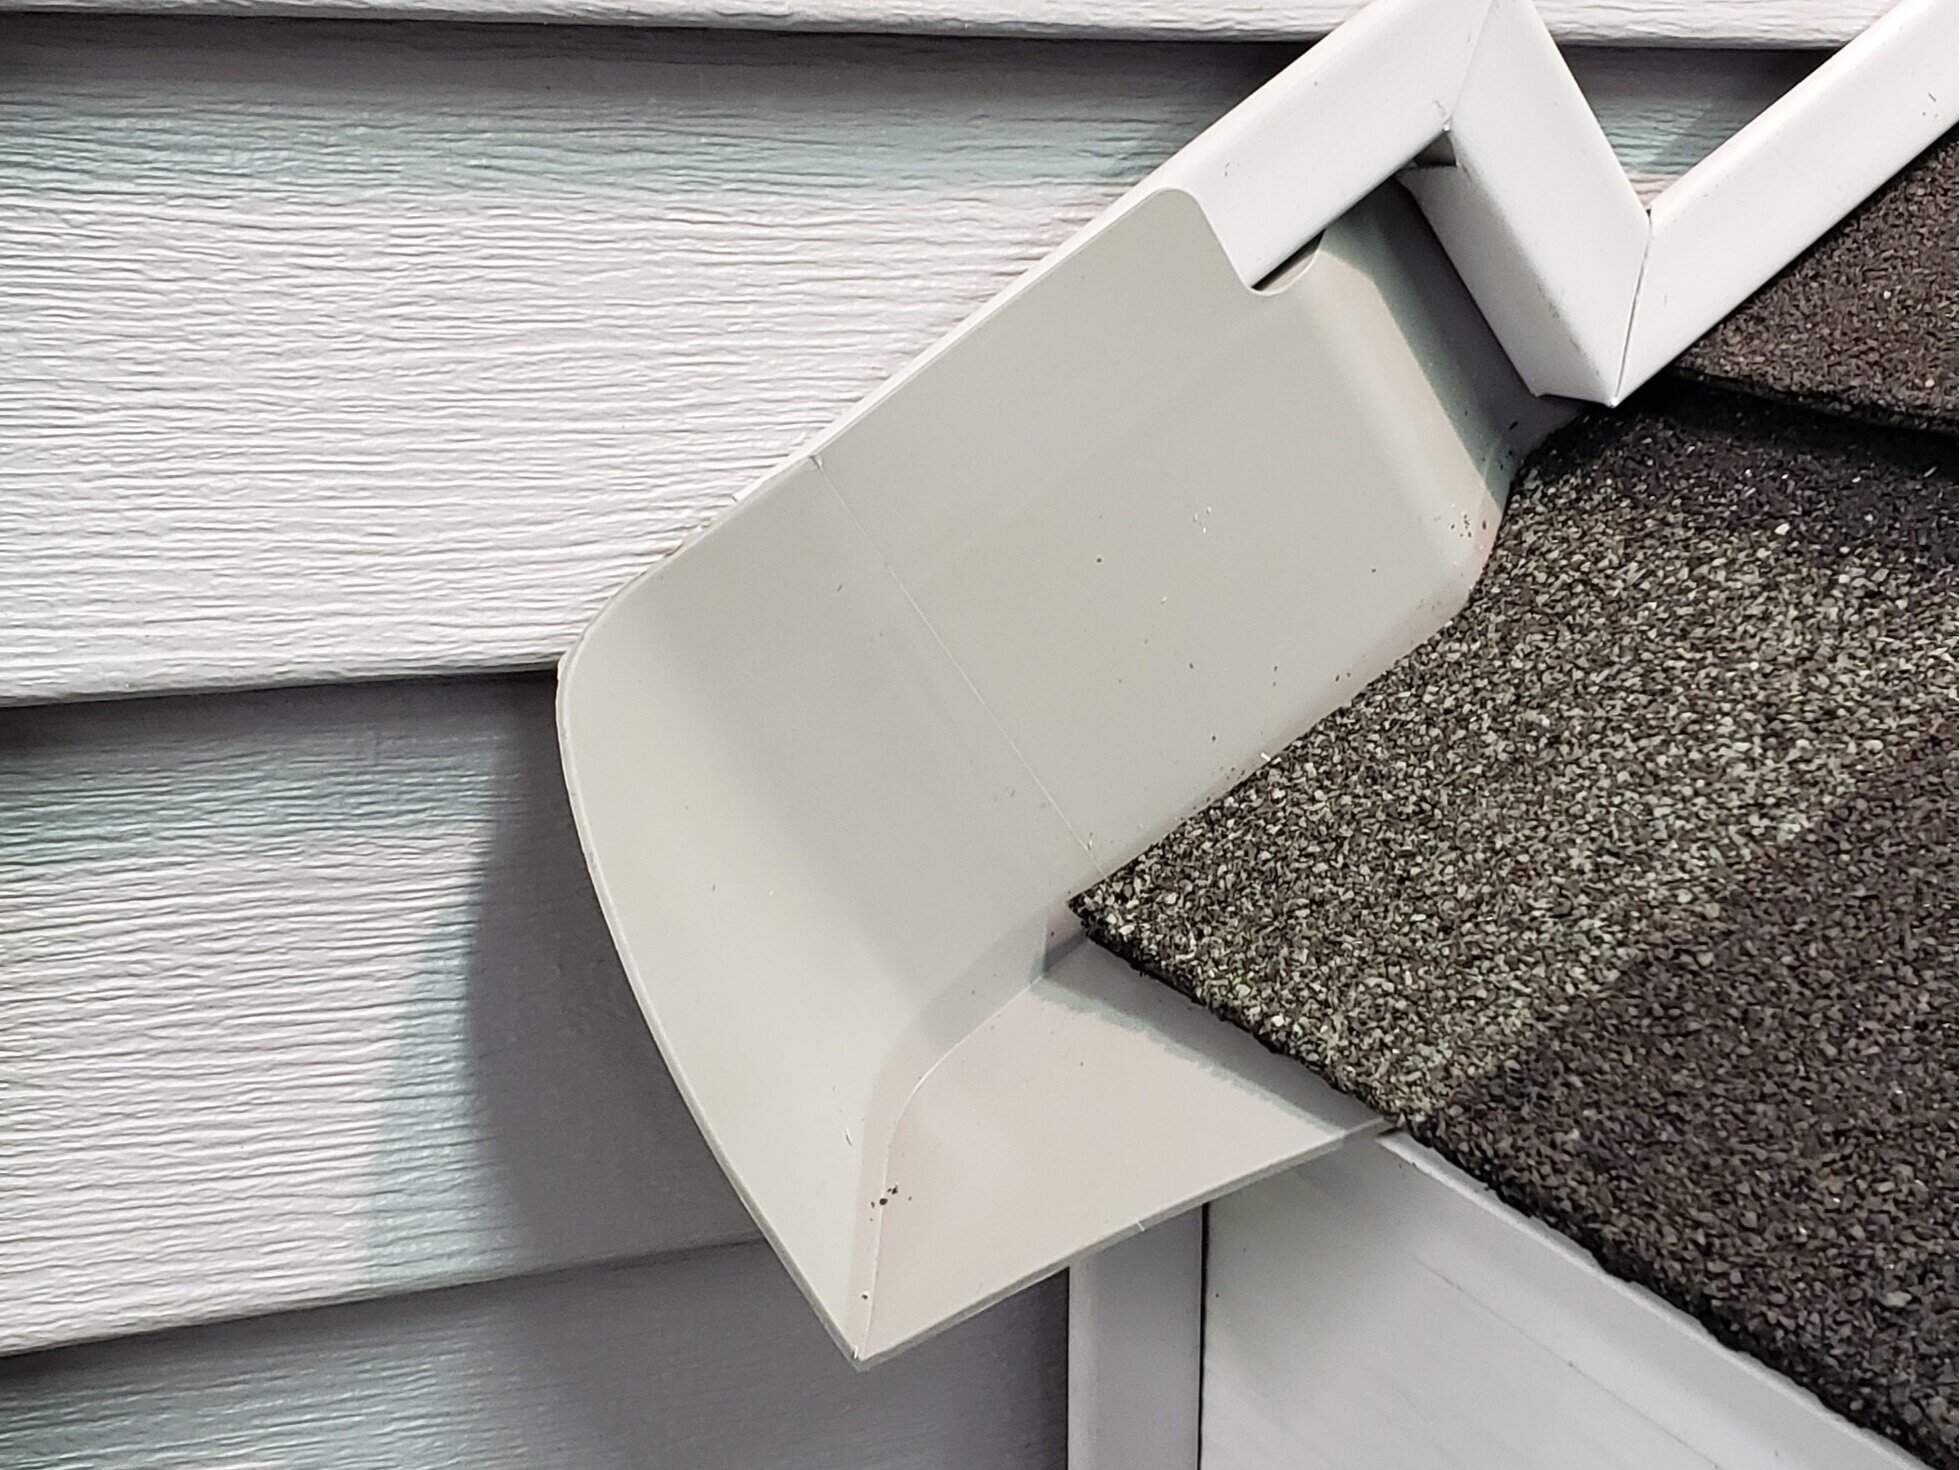
Photo by American Flashings
Ever heard of kickout flashing? We would not be surprised if the term is unfamiliar. It’s time to learn about it. Kickout flashing costs very little, but it may end up saving you thousands of dollars of repair for serious water damage to your home.
Let’s take a look at what it is. Kickout flashing is also called diverter flashing. What does it do? It diverts water away from walls in places where sloped roofs and walls meet. Water running down and into your walls can lead to structural damage, rot, and mold that may not be evident until the problem becomes severe. At that point, major home repair costs are looming.
Do ask, do tell!
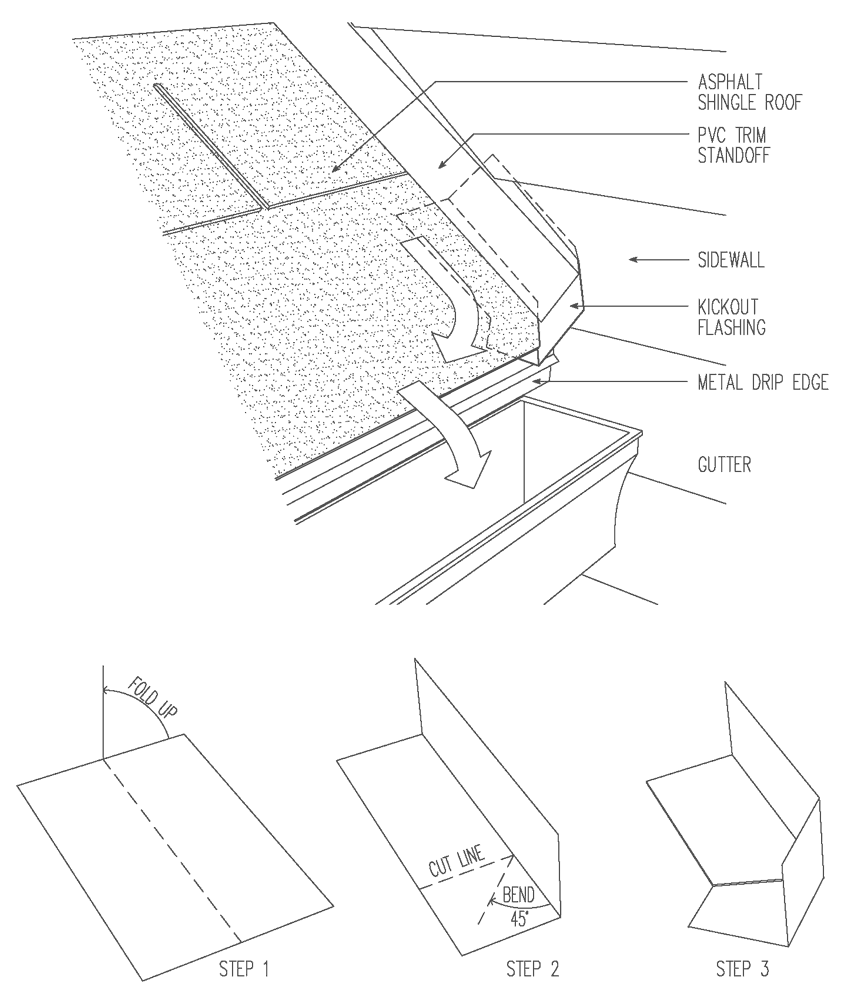
The International Residential Code (IRC) has required kickout flashing since 2009, but most roofers won’t install them unless you ask. North Carolina Residential Building Code doesn’t mention it by name, but the instructions are clear:
“Flashings shall be installed at roof and wall intersections, wherever there is a change in roof slope or direction and around roof openings. A flashing shall be installed to divert the water away from where the eaves of a sloped roof intersect vertical sidewalls.”
The code describes the flashing as extending a minimum of 4” up the sidewall and have a 110-degree angle. This is sufficient to divert water away from the wall, but not so severe as to trap debris or create ice dams in winter that can lead to water backing up along the wall. The code also states that if the flashing is metal, it must be corrosion-resistant with a thickness of not less than 0.019 inches (0.5 mm).
Put simply, kickout flashing is essential to protect your home from expensive water damage, and yet it’s often overlooked or even misunderstood by many roofers.
Check out this video of what can happen without kickout flashing.
Roof replacement time
By Green Building Association
If it’s time to replace your roof, this is a great time to install kickout flashing. Even if your local code doesn’t require it, we suggest strongly that you ask the roofer to include it.
Most forms of siding can be cut and tweaked by a roofer during installation of kickout flashing. However, stucco, masonry stone, or bricks may require a specialist to make the repair.
Here’s a video of extensive damage inside a wall on a home with stone veneer that didn’t have kickout flashing.
Do it yourself!
Installing kickout flashing is not too hard if you’re an accomplished do-it-yourselfer. But if you have any doubts about your ability, hire a qualified contractor. If you do it incorrectly, you may end up with worse damage than if you hadn’t done it at all!
Click here for a video to show you how to install kickout flashing on vinyl siding.
Please note: There are areas of this repair where caulking is needed. Don’t skimp on caulk quality. Buy the really good stuff with long life expectancy. Even then, it would be a good idea to check up there at least once a year to make sure the caulking is still secure.
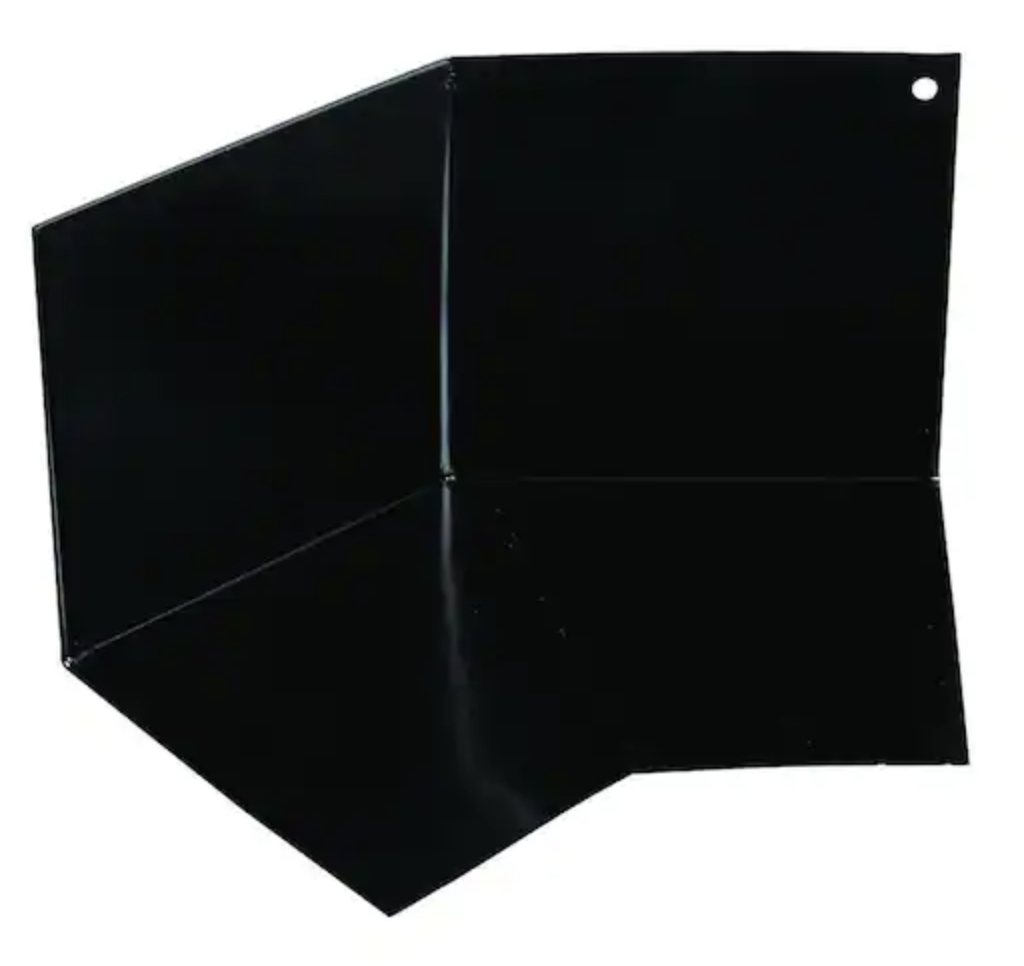
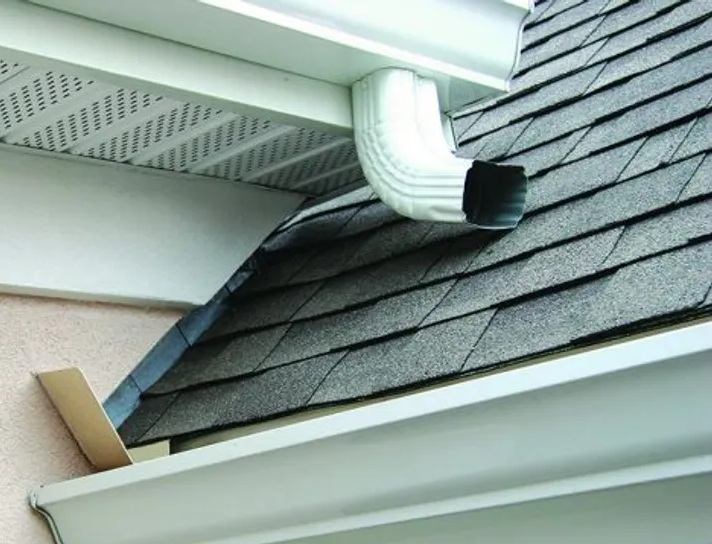
Photo by Lowes.
We really must insist!
If you’re buying new construction, insist on kickout flashing. Do the same if you’re having your roof replaced. Don’t assume the contractors will do that automatically. Most of them probably will not. Installation before the roof is built or replaced will cost extremely little.
Kickout flashing at your local home store or online generally costs around $10 to $15. And even if you are installing after the fact and forgoing do-it-yourself in favor of hiring a professional, installing kickout flashing should cost only a few hundred dollars. Compare that to the cost of tearing out siding, soffits, fascia, insulation, drywall, and more.
It’s a no-brainer! If you don’t have kickout flashing on your home, our best advice is to have it installed as soon as possible.